

How To Make Your Wordpress Blog More Attractive
I receive complimentsall the time on the design of my blog, and I'm always incredibly flattered by this for a couple of reasons.
For one, I didn't shell out big bucks to make my blog look the way it does! Most of what you see here is either an element of the theme I purchased or something I designed myself. Furthermore, I hardly consider myself a design whiz. While I admit that I've come a long way since starting this blog, I have no formal training whatsoever; I rarely use professional software like Photoshop to create my graphics, and I only know the very basics of coding!
So, the truth is, if I can build a beautiful blog all by myself, so can you! This post is intended for anyone who wants to start their very own blog (whether travel-related or otherwise) and might not know how to begin. I'm sharing my knowledge from start to finish–that is, from getting your blog up and running to making it as unique and beautiful as you are!
Things to Think About Before You Get Started
I want to mention a few things I wish I'd thought about before diving into blogging. The first, and perhaps most important, is the name of your blog. Put some serious thought into this! Come up with multiple options and bounce your ideas off others. The name of your blog carries a lot of weight, and while it's possible to change it after the fact, trust me when I say you're not going to want to do that–it's not easy or fun to rebrand if you choose a name too hastily at the start.
The next thing you should think carefully about before getting started is branding. What kind of message do you want your blog to send? What kind of vibe will it give off? My blog went through facelift after facelift before I settled on the aesthetic it has now, before my photo editing had any kind of consistency, and before I started designing clearly branded graphics that I loved. Will your blog be spunky and bright? Will it be mellow and subdued? Will it be clean and minimal? Will it be feminine, moody, or sultry? Think about what fonts you'll want to use, what colors you want your theme to be, and what kind of images you'll use. The more cohesive your branding is from the get-go, the better.
It might help to create a mood board with all of your ideas to get an idea of what you're most drawn to; this can help you compare and contrast and eventually narrow down your style. Once you've got a vision of your ideal aesthetic, you're ready to get set up!
Get Professional Web Hosting
If you're planning to pursue blogging as more than a hobby, then the best option is to go straight for self-hosting. This may sound scary at first, but it's actually really simple! Having a self-hosted blog allows you to really get creative with your design and functionality. You can install plugins, add and edit code, and grow your website to your heart's desire.
My hosting provider is Bluehost. I've been with them since my blog's inception and have had a great experience; the support team is wonderful, and it's one of the most affordable hosting options available at just $3.95 per month for the basic plan and $6.95 per month for 'Plus.' And with Bluehost, your first domain name registration (that's your URL – my domain name is thesweetestway.com) is free!
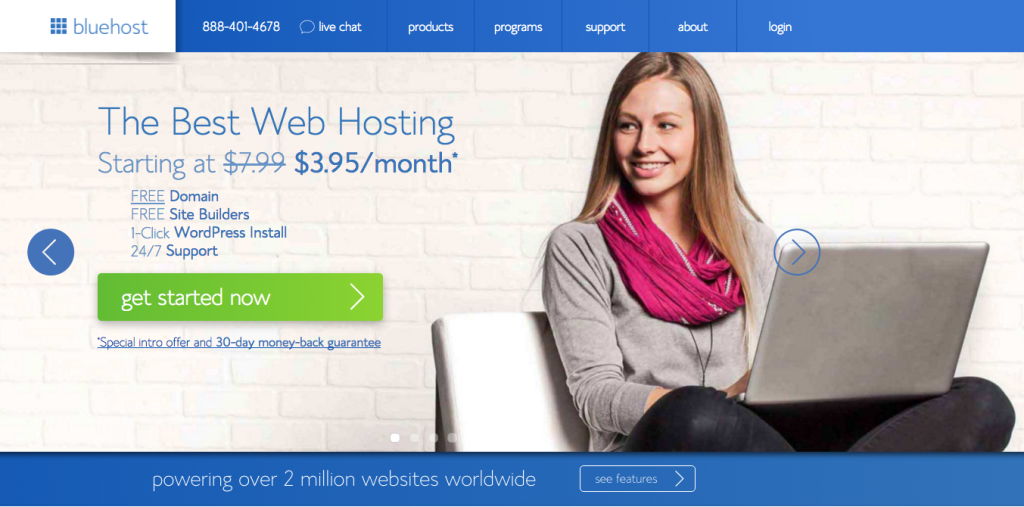
After you've created an account and registered your domain name, you'll choose your package options, like how long you want hosting (I initially signed up for just one year, just in case I wound up hating blogging) and whether you want privacy protection, backup protection, etc.

You can skip most of these, but you do want privacy protection for just $9.99 per year:
If you do not elect private registration, this online WHOIS listing will include your personal contact information, such as your email address and phone number — available to the public through a simple domainsearch. Use of alternate contact information keeps your personal information out of the public eye.
Next, you'll select any add-ons you want. Some bloggers choose to give their brand added protection by purchasing additional domains, such as those ending in .net, .info, or .me. This may prevent copycat sites from popping up and potentially damaging your reputation. I reasoned that my domain name wasn't under threat of being copied, so I skipped this particular option.
Once you've completed your Bluehost registration process, you'll be able to install your blogging platform, WordPress, in one simple step. Wordpress will be your home base for blogging, where you can modify and customize your site to your liking. Installation and logging in will be straightforward as you'll just have to follow the prompts on your screen.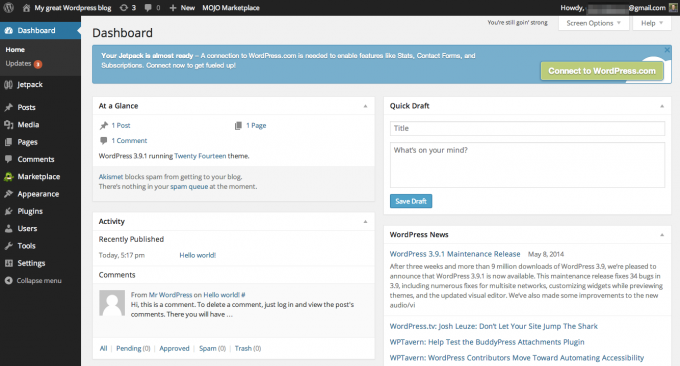
Purchase a Beautiful Theme
The theme of your blog is the foundation for your design. Generally speaking, when people compliment my site design, they are complimenting my choice of theme. I did very little customization; in fact, I didn't even change the colors from how they appeared in the demo. But my blog still looks unique because of the customized elements I added to it, such as my logo and the custom widgets in my sidebar.
If you're looking for an inexpensive yet beautiful and functional theme, Theme Forest is a great place to start. It's where I purchased mine (for just $49!) and they are constantly adding new designs. Browse by most popular items or most recently added, or enter search terms like minimalist, feminine, or modern. It helps to have an idea of what you want your blog to look like but don't dismiss a theme right away if it doesn't match your vision exactly. Every theme has multiple style options, and don't forget you'll be able to do a lot of customization after the fact (especially if you know a bit of coding).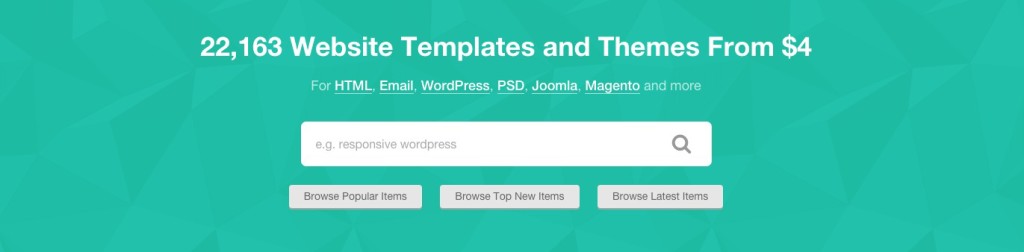
Once you've found and purchased a theme you love, you'll have the option of paying for a professional installation, usually to the tune of about $50.Do not pay for this! Installing a theme purchased from a third-party site is insanely easy. You'll download all the necessary files in .zip format, which you can simply upload to your WordPress dashboard by navigating to the Appearance tab –> Add New –> Upload Theme.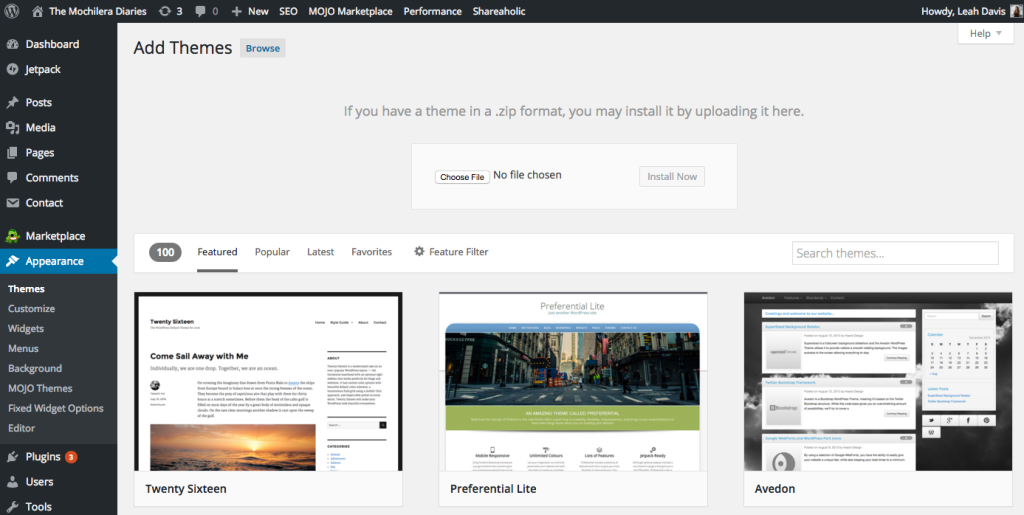
Add Your Own Personal Touches
Once I started getting creative and making my own custom graphics, my blog design really started to feel cohesive. I've designed everything from my own logo to the buttons in my sidebar to my favicon (the icon that shows up in your browser tab) to my Pinterest graphics.
Just about everything I design is done with the online editing app, PicMonkey. Consider it a simpler version of Photoshop! It's incredibly easy to use and becoming more versatile by the day with the regular addition of new features. The free version is a good way to start, but purchasing the paid subscription (called PicMonkey Royale) for just $33/year is the way to unlock all of PicMonkey's power.
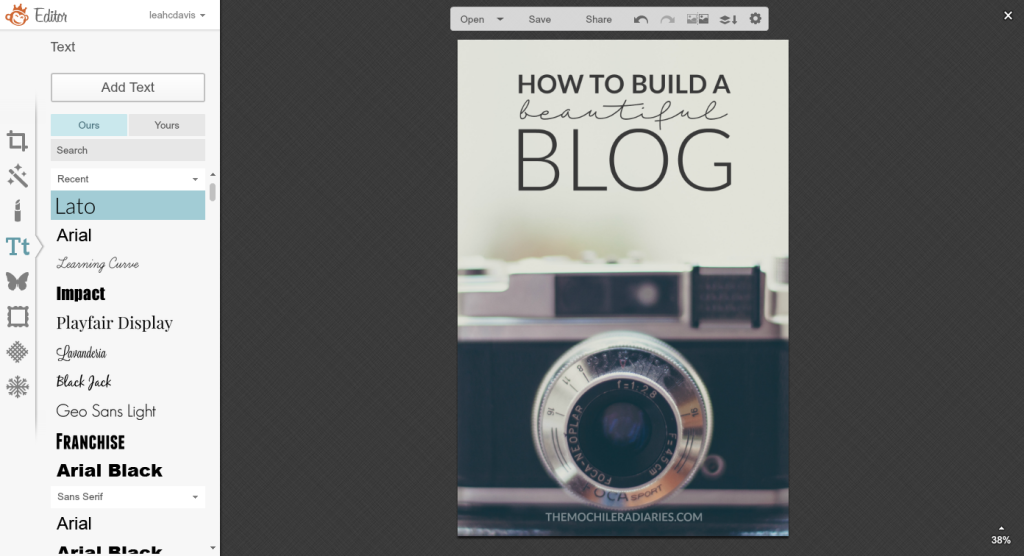
You'll have endless editing options–filters, overlays, retouching, text, and more. You'll have a wide range of fonts to choose from, and you'll have the option to use your own fonts as well. I purchase new fonts ALL. THE. TIME. This allows me to keep my designs looking modern and fresh and make sure they stand out from the crowd.
Canva is another powerful tool for designing graphics quickly and easily. It might not feel as user-friendly at first, but it has some unique features PicMonkey does not.
Lastly, if you need custom designs done but don't want to spend the time doing them yourself, search Fiverr for cheap gigs starting at $5 (with optional add-ons and packages).
- This designer did my current logo in elegant brush lettering
- This designer mocked up my eBook cover (see sidebar)
- This proofreader polished up my eBook in record time
Make Your Photos Shine
Let's be honest, if the images you're putting out there on your blog are sub-par, people won't stick around for long. And after you've put so much love into a beautiful design, your content had better measure up!
Many bloggers do just fine using a smartphone for all of their photography which is fine, but I don't recommend it. You'll get much higher quality photos by investing in good camera equipment and have much more control over the editing process with high-resolution images.
If you are going to use a smartphone for some or all of your photography (we all do it sometimes!), make sure to download a few photo editing apps to enhance your images. My favorites are Facetune and A Color Story.
I shoot with a Canon Rebel SL1 (D100). It's one of the lightest, most compact DSLR cameras on the market, and the photo quality is excellent. You'll want to purchase the appropriate accessories like a 32 or 64 GB memory card and perhaps even an external hard drive for storage.
For a long time, I shot primarily with the 18-55mm f/3.5-5.6 kit lens it came with, and this is totally fine if you're just starting out and getting your footing with photography. There's no need to dive right in and spend a fortune on a lens. If you're ready for an upgrade, my favorite new lens is a 24-70mm f/2.8 that's great for portraits (it creates that lovely bokeh effect behind your subject) and also wide enough for landscapes. I find the images to be much sharper than what my stock lens could do, even when shooting by hand. For long exposures, night shots, or self-portraits, my lightweight aluminum tripod comes in very handy.
When it comes to photo editing, my preferred software is Adobe Lightroom. Again, it's more simple to use than Photoshop, so even if you're not well-versed in Adobe software it won't be terribly difficult to learn.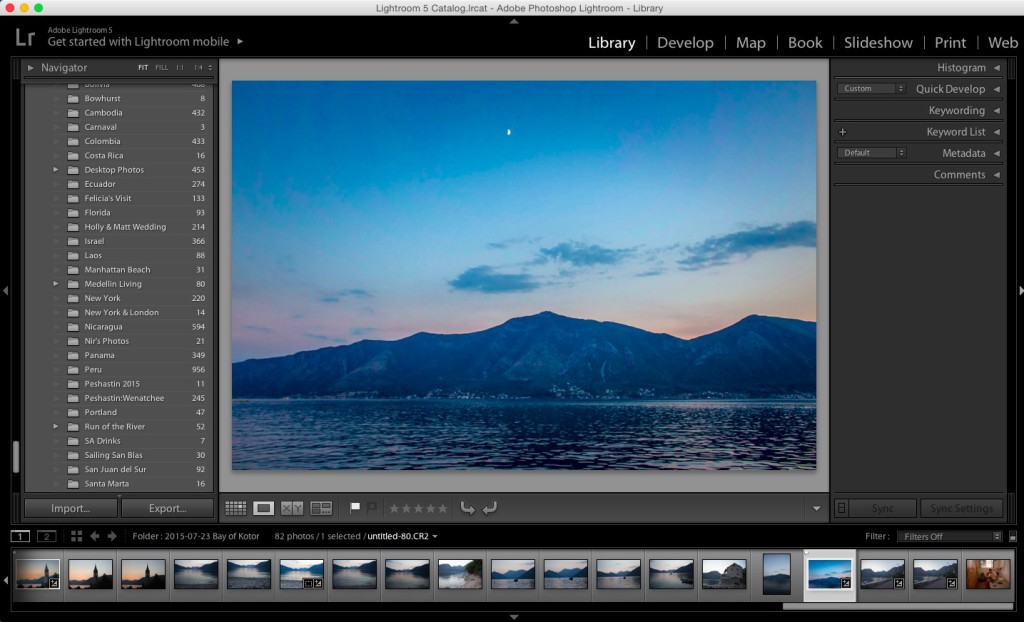
Regardless of what camera gear you're shooting with, whether it's a DSLR, a GoPro, or simply a smartphone, Lightroom can bring out the very best in your photos.
If, on the other hand, photography is just NOT your bag and you're not ready to put in the time to learn, consider using stock photography. If I ever need to use stock photography, my favorite site is Unsplash. All images are royalty-free and licensed under Creative Commons Zero, meaning you can modify them however you want and you don't need to provide attribution. I mostly use my own photography on the blog, but when creating Pinterest graphics for clients, this is the first place I look. Other good sites for free stock images are Pixabay, PicJumbo, Gratisography, and Death to the Stock Photo.
If you're comfortable spending a little money on photos, Shutterstock has a phenomenal selection of gorgeous stock photos.
Create Amazing Content
Now it's time to start creating kickass content! The type of content you produce is entirely up to you; the important thing is to find your voice and be consistent from post to post. And of course, be yourself! People read blogs because they have personality and they offer unique opinions; they want to hear your stories, not just bland facts, so make things interesting!
Research what other bloggers in your niche are doing and DO THE EXACT OPPOSITE! Be original, write prolifically, and be ready to promote, promote, promote (and get yourself on Pinterest ASAP!).
Lastly, for the love of god, PROOFREAD your content! Reading typo after typo or one grammatical error after another are my biggest blogging pet peeves ever. But we're only human, and mistakes often go unnoticed. Since I can't hire a professional proofreader, my solution was installing a handy browser plugin called Grammarly. It catches not only spelling and grammatical errors but even contextual spelling errors, underlining them as you go so you can't possibly miss 'em. It also serves as a thesaurus and gives detailed explanations of why things are wrong and how to correct them. Use it! Your high school English teacher will thank you.
This is a step to growing a fantastic blog that I overlooked for WAY too long. If you want people to come back to your blog over and over again, you'll need to capture leads through email marketing.
This does NOT have to feel sleazy!
All it means is that you're getting to know your readers on a more intimate level by communicating with them directly rather than hoping and praying for them to return to your blog after that first visit.
The tool I use to capture leads and build my inner circle is ConvertKit. The widgets are beautiful, customizable, and integrate perfectly with my blog's design. It has powerful tools for segregating my list based on each reader's personal interests and allows me to set up automated sequences that help me promote valuable blog posts, products, and services to my peeps.
If you are truly serious about blogging as a business, email marketing cannot be neglected, and a powerful tool like ConvertKit can help you build your network quickly and efficiently.
Read my full review of ConvertKit's awesome features here.
Now Get Blogging!
So there you have it, my secrets for creating a beautiful blog. I hope you can take away something useful! If you still have burning questions, leave me a comment below and I'll do my best to answer them.
Best of luck on your blogging journey, and don't be a stranger!
This post contains affiliate links, meaning I may earn a commission if you make a purchase, at no extra cost to you. I only recommend products I use and love myself. Thank you for your support!
How To Make Your Wordpress Blog More Attractive
Source: https://www.thesweetestway.com/build-a-beautiful-blog/
Posted by: angfaim1980.blogspot.com
0 Response to "How To Make Your Wordpress Blog More Attractive"
Post a Comment