

How To Add Tags To The New Wix Blog
Wix Setup
How to set up OneSignal Web Push notifications on Wix sites
This guide will walk you through how to set up Web Push for your Wix site using the Website Builder setup process in the OneSignal Dashboard.
To jump back into the setup process at any point, go to App Settings and click Configure for the Google Chrome platform. Instructions for Safari are here.
Pre-requisites:
- A Wix site on a premium plan with a custom domain
In the OneSignal Dashboard, click New App/Website from the All Applications page.
On the screen that appears, fill in the name of the app.
If your account is part of an Organization, select the name of the organization that the app should belong to from the list.
Select Web Push from the list of platforms, then click Next: Configure Your Platform.
.png")
On the screen that appears, select Website Builder > Wix.

Once you've selected Wix as your integration, you must fill out information about your site.

You will need to enter in your primary domain that you have set up in Wix. See managing your domain in Wix to learn how to find this domain.
Recommended: This feature is only for HTTPS sites and if you do not select "My site is not fully HTTPS". This allows users to automatically resubscribe upon returning to the site without being prompted if they clear their browser cache or if you are transferring to OneSignal from another push provider.
Enter a link to an icon file that is at least 80x80 pixels. Recommended size is 192x192. The file must be .png, .jpg, or .gif.
Wix implementations must choose a unique label that will be displayed as the originating subdomain in your notifications.
Warning: You can only change your label if you have less than 100 web push users. Once you have 100+ web push users, this setting is disabled.
To send push notifications to users, you first must ask them for permission using a Prompt. You must have at least one Prompt on your site for web push to work. Click Add a Prompt to open the permission prompt selector.
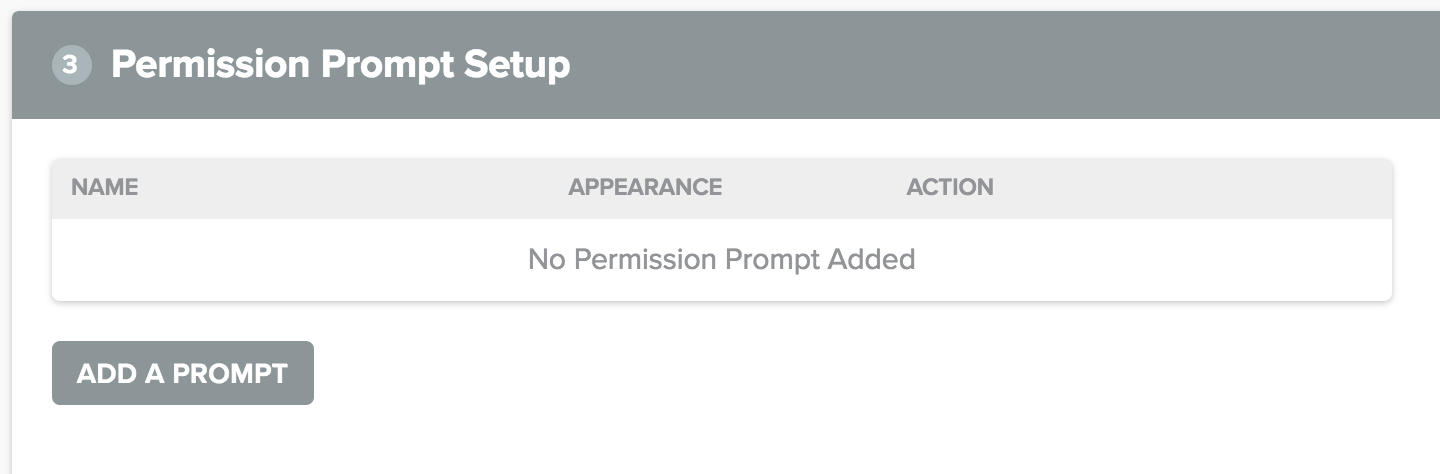
In the Permission Prompt Editor, you can select which prompts you wish to use, and style them as you like. Once you have edited the prompt to your liking, click Save.

Subscription Bell - a small icon at the corner of your page that users can interact with to subscribe
Slide Prompt - a small modal that comes from the center of the page and asks if users are interested in signing up.
HTTP Pop-Up Prompt (HTTP-only) - a pop-up window that appears after other prompts that is required for HTTP sites.
Custom Prompts - create your own links or buttons as prompts.
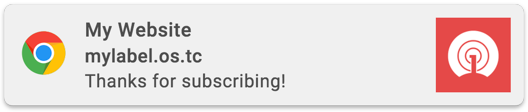
Welcome notifications an optional way to thank users after subscribing to your site. Users will see a welcome notification as soon as they subscribe. You can edit or disable them here.

Most sites will not have to edit anything in Advanced options. See Web Push Advanced Options to learn more about each option.
👍
Site Configured
Once you've completed steps 1-5, click 'Save' to save your configuration.
Next, you'll need to add OneSignal to your site by following step 6.
To enable OneSignal on your Wix site, you will need to copy the code from Web Push Settings.

Visit the site and subscribe through the OnesSignal permission prompt that you configured in Step 3.
Then, send a test notification to yourself through the OneSignal Dashboard to test your implementation.
Next, add the Google Tag Manager plugin to your site and follow the tutorial OneSignal Google Tag Manager guide.
- How does OneSignal work differently with HTTP sites?
- What if my site is in a subfolder?
- Why does my site require a label?
- Why can't I change my label?
![]() Updated about a year ago
Updated about a year ago
How To Add Tags To The New Wix Blog
Source: https://documentation.onesignal.com/docs/wix
Posted by: angfaim1980.blogspot.com
0 Response to "How To Add Tags To The New Wix Blog"
Post a Comment